• Home
  • About
  • Eat
    • Recipes
  • Play
    • Travel
    • DIY
  • Dress
    • Outfits
    • Current Favorites
  • THE SHOP
Powered by Blogger.

Pages

Instagram Pinterest Bloglovin

Eat Play Dress

TT9
NAPKIN RINGS//SILVERWARE//PLATES//PLACEMATS//RUNNER
For the second year in a row, I will be hosting my Family's Thanksgiving celebration. There is a lot of prep that goes into getting ready for the holiday, so the last thing I want to stress about is how I will decorate the table. So when I was thinking about my table decor, I knew I wanted to keep things simple and easy and chose to keep the over all color palette more natural - white, green, and gray with touches of gold.

Because the holiday is centered around the meal, I chose to incorporate different herbs being used in the kitchen. First, I incorporated thyme as an accent in the napkin rings to bring the green color into the place setting. Next, at the center of the table, I used rosemary to create a wreath around the center candle. On either side of the center candle then, I set my favorite white pumpkins. I had originally thought of incorporating a bouquet of white and green flowers, but opted not to in the end. However, as another option for the center of your table, you could swap the pumpkins for small bouquets of flowers. I finished things off then with my gold silverware and white plates. The end result is a simple, but pretty look that will be easy for me to set up on actual Thanksgiving and leave me with plenty of time to focus on other things.

TT8

TT12

TT5

TT4
Share
Tweet
Pin
Share
No comments
EE11

Espadrilles are a big trend for Spring and there are lots of great options out there from lace to stripes to solid colors. This pair from Target is my favorite and I decided to dress them up with a beaded appliqué. It took not long to do and really makes the espadrilles standout. Here’s how I did it:

EE8_edited-1
What you’ll need:
- Espadrilles
- Beaded Applique
- E6000

EE8

EE7_edited-1
Apply E6000 glue to the back of the beaded appliqué making sure to cover the edges and the middle. 

EE9
Center the beaded appliqué on your espadrille where you want it to sit and press down on all sides. I let mine dry for an hour and made sure to check every 10 minutes or so that none of the edge had peeled up. 

EE4
Once dry, you are ready to go! 

EE1
The Final Product! 
Share
Tweet
Pin
Share
9 comments
Holiday Party 2

This past weekend my boyfriend and I hosted a holiday party with ugly sweaters and all for our friends. Since I love to decorate and bake, I was put in charge of the decor and treats. To decorate for the party, I ended up chosing a lot of items from the Target Oh Joy! collection. The entire collection is cute and affordable. Plus, it made it really easy to decorate for the party. My favorite piece had to be this garland. You can find all the items from the Oh Joy! collection here and I really recommend checking out Target for decorations for any party as they have lots of great stuff!

When it came to treats, I chose to do a variety of sweets. I made two different kinds of cookies – Swedish Kisses and Sugar Cookies. For the sugar cookies, I cut them in festive shapes and decorated them accordingly. Additionally, I made Scotcheroos – an easy favorite of mine that is like a rice krispie bar with peanut butter and chocolate. I had planned to make popcorn as well, but ran out of time at the end, so I just bought some premade kettle corn from the store. Finally, we also included Candy Canes and Almond Roca to finish off the treats. When planning sweets for the party, I made sure to include a variety of items - chocolate and non-chocolate - to make sure I had something for everybody.

For drinks, we had a variety of options including an Apple Cider Cinnamon Punch we made. I plan to share this drink later on so be sure to check back for it.

Holiday Party 6

Holiday Party 7

Holiday Party 4

Holiday Party 5

Holiday Party 3

Holiday Party 1
Share
Tweet
Pin
Share
No comments
1152 copy

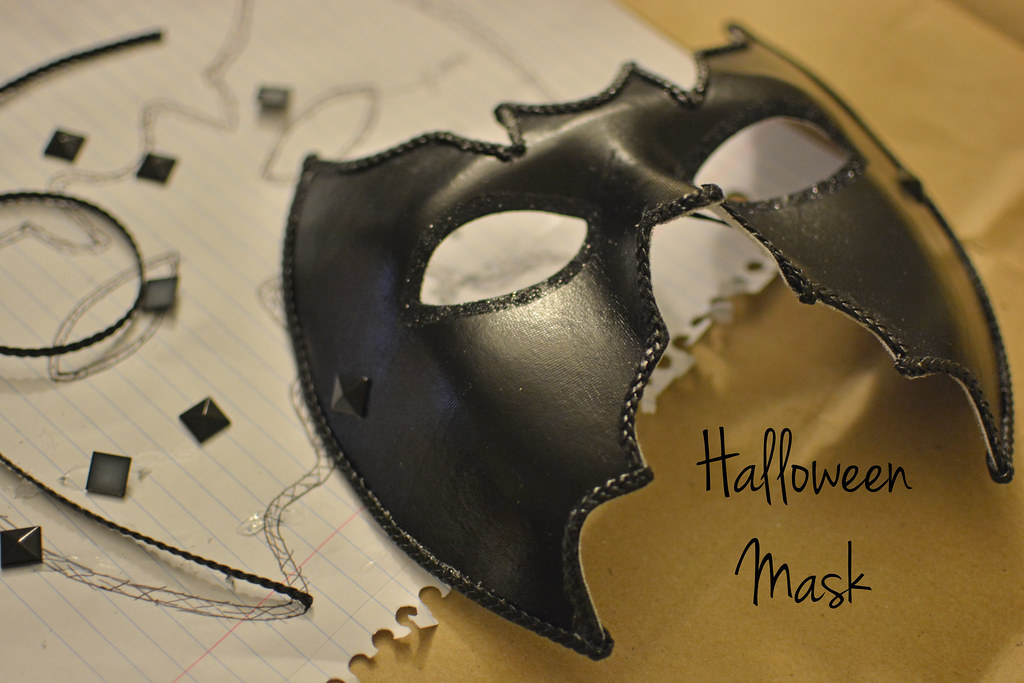
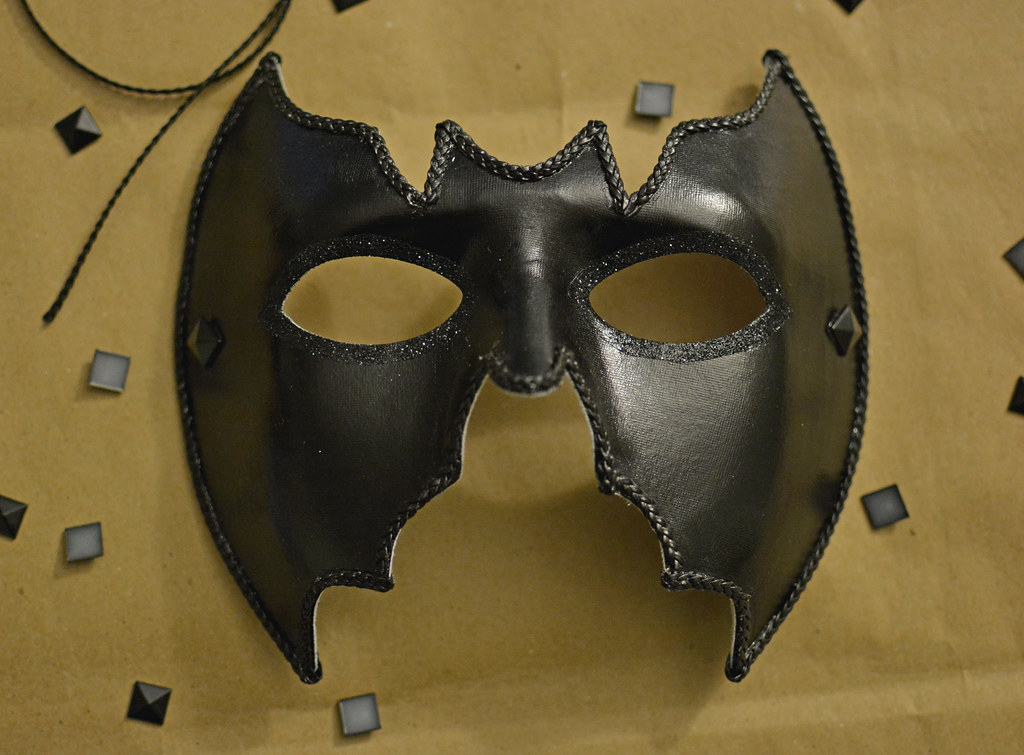
With Halloween only days away, I want to share a simple last minute way to participate in the Halloween festivities without dawning a full on costume. You can pick up a simple mask at any craft store and with a little time and some art supplies, you will have your own, personalized mask to wear for the holiday. Check out below for how I decorated my mask.

1Use_3
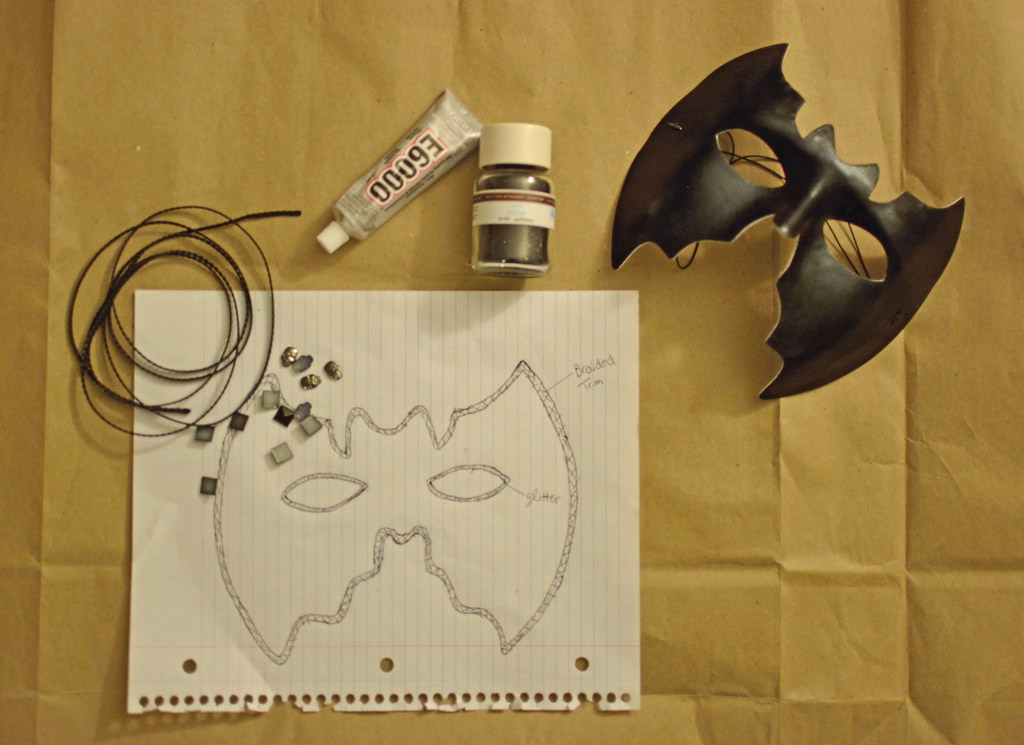
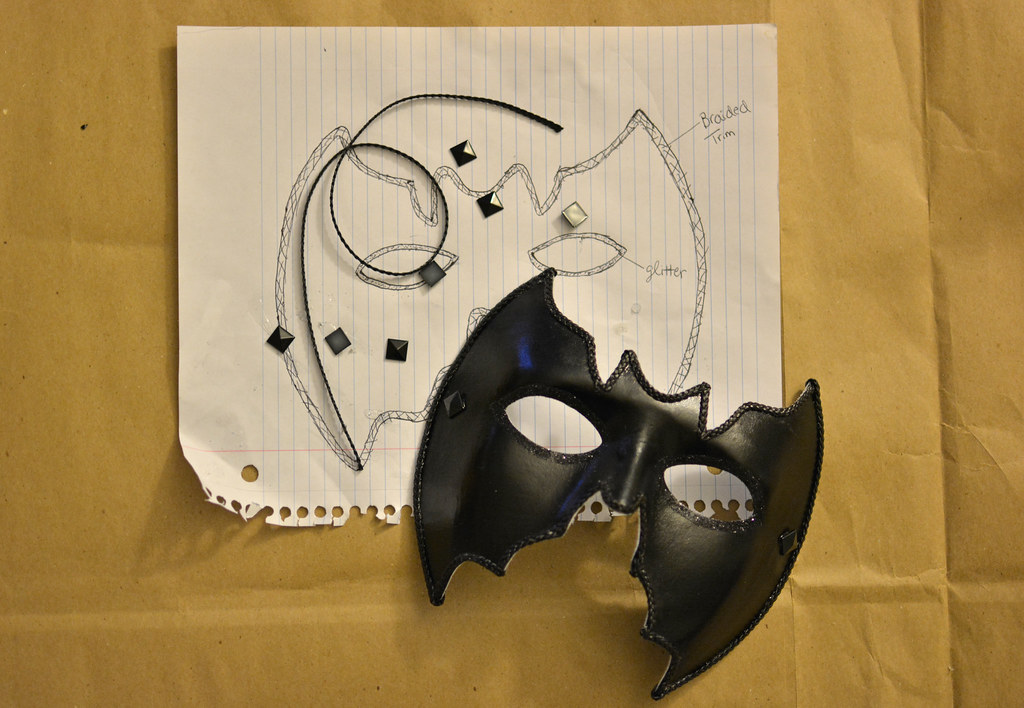
What you’ll need:
-A mask (I got mine here)
-Glue (I used E6000 and Modge Podge)
-Painter’s Tape
-Paint Brush
-Hairspray
-Different decorations such as studs, glitter, trim, sequins, paint, etc

1031
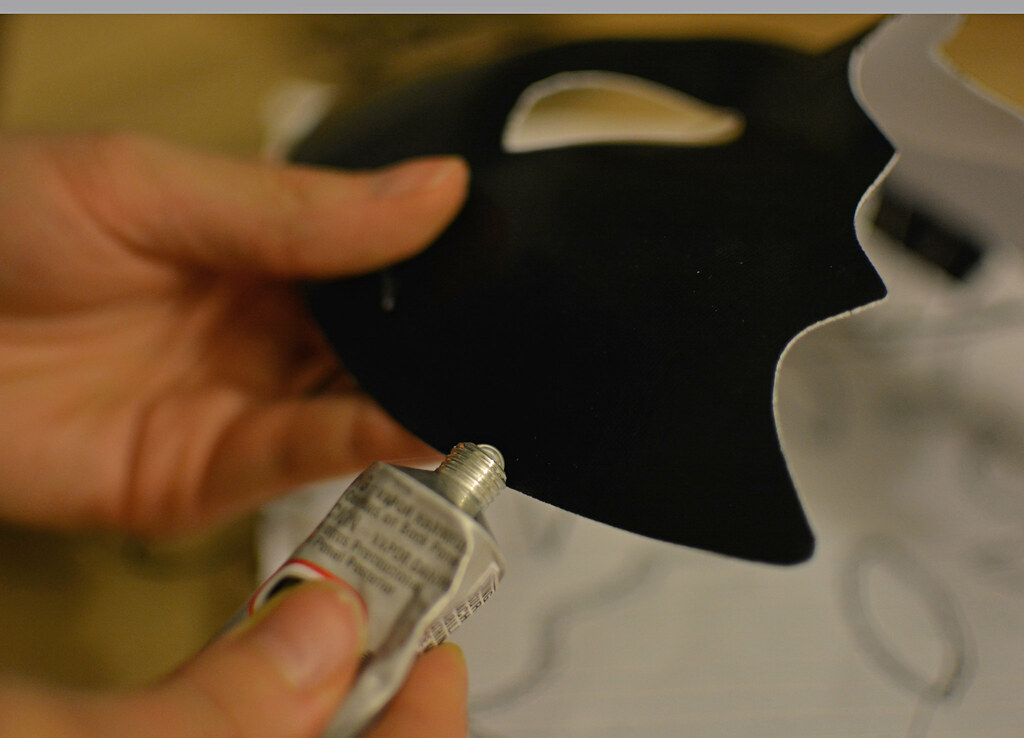
1. To start, apply a thin line of glue (here I used E6000) across the edge of the mask for applying the trim.

1041
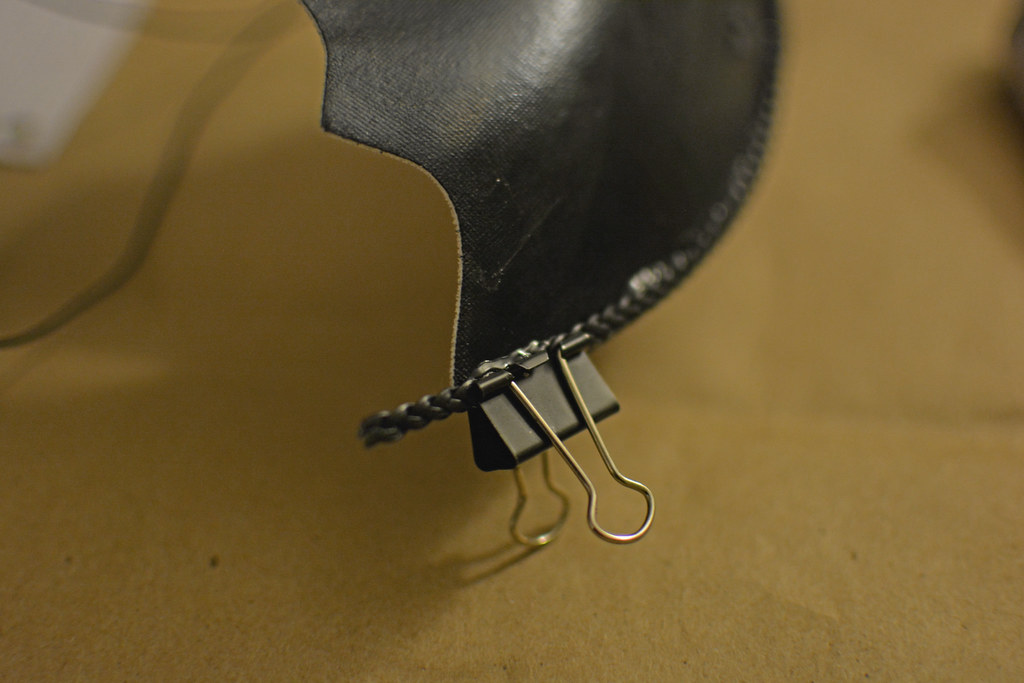
2. Once the glue is applied, add the trim to the edge of the mask. Then use a paperclip (or other type of clip) to hold the trim in place while it dries.

1057
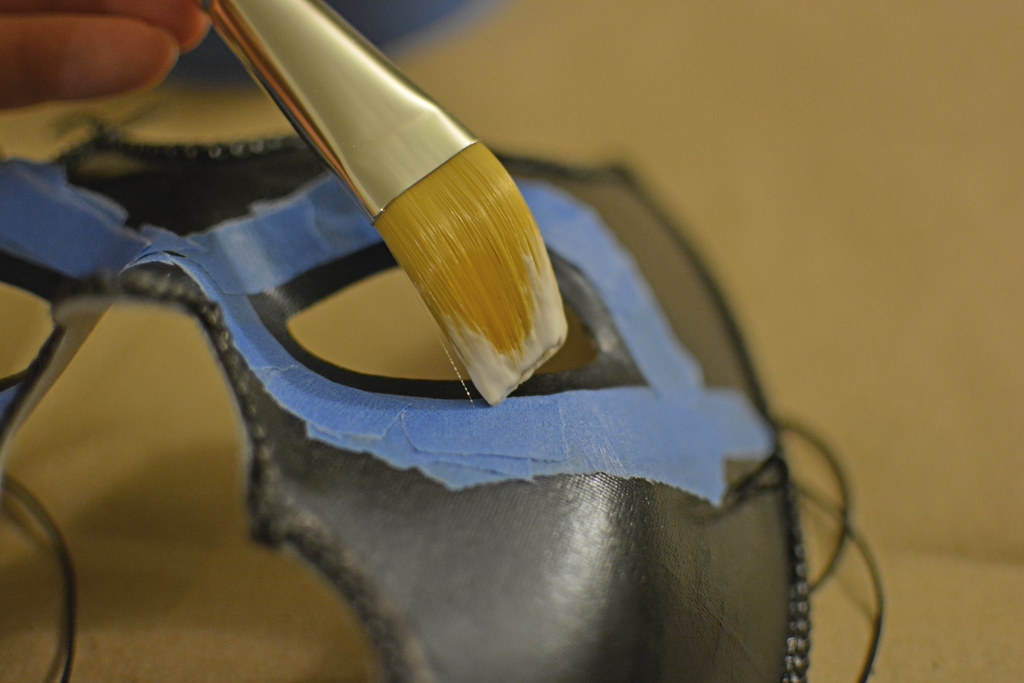
3. To apply a glitter border to the mask, tape around the area you wish to add the glitter. I chose to do a border around the eyes. Once taped off, apply glue to the area. I used Modge Podge for glue here.

1074

1072
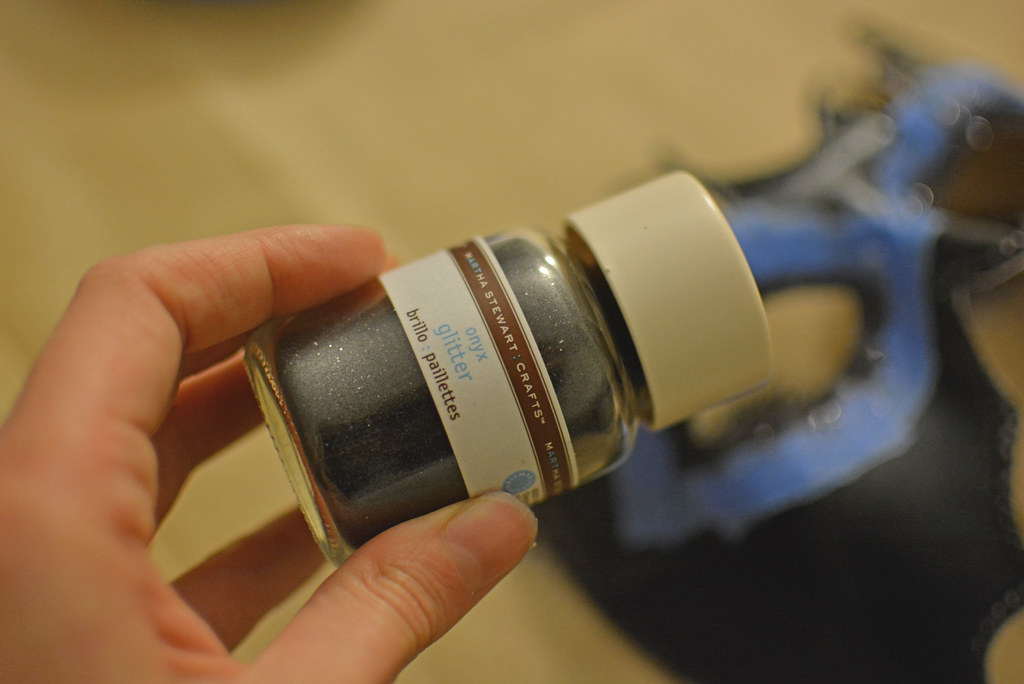
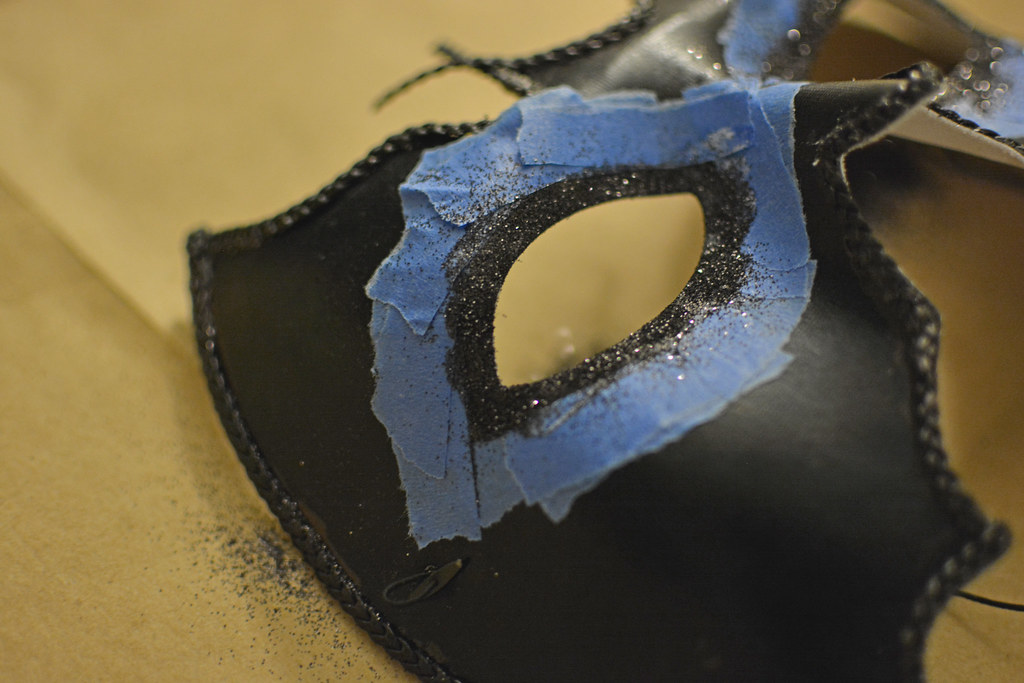
4. Once the glue is applied, sprinkle on the glitter and let it set for a couple minutes before removing the tape.

1143
5. Add any other decorations using glue to the mask, I added some studs. As a final step, I sprayed the mask with hairspray to give it a glossy finish and to keep the glitter in place. 

1097
The Final Product!
Share
Tweet
Pin
Share
4 comments
1025

There are lots of fun embellished sandals this season (these, these, and these to name a few), and I love the idea of a simple casual sandal all dressed up with embellishments. I decided to make a pair of my own using a slip on pair of sandals and some embellishments I picked up at M&J Trimming. Using just a little glue and some creativity, I made this pair and am already planning all the outfits I will wear them with (and contemplating making them in another color).

1354
What you’ll need:
-A pair of sandals, mine are from Joe Fresh, but these or these would work well
-E6000 Glue
-2 yards embellished trim (1 yard of each trim, if you plan to use two different ones or just a yard), mine can be found here and here
-Scissors (not pictured)
-Clamp paper clips (not pictured)

1371
Begin by cutting the trim to the length of the straps of the sandals. I cut mine a little longer than the length and then cut off any extra trim at the end.

1451
Starting on one sandal strap, apply a strip of glue across the strap where you plan to attach your trim.

479
After applying the glue, lay the trim across and press to hold in place.

487
Using clamp paper clips, place them along the trim while the glue sets to hold in place, around 5-10 minutes. Repeat the process for each of the straps on the sandals.

1493
Once the glue has set, trim any of the excess trim using a scissors.

1067
The final product!
Share
Tweet
Pin
Share
No comments
1471 copy

As a child, I always found olive oil to be bitter and lacking flavor. It did not appeal to my taste buds that preferred more sugar and sweets than savory items. As I have grown older though and my savory palate has developed, olive oil has become one of my favorite condiments. Drizzled over ripe tomatoes with sea salt, a salad with fresh lemon juice, or as a dipping sauce for bread, the ways I consume it are endless. Thinking plain olive oil could not get much better, I decided to pair it with my favorite herb, rosemary. Using a simple technique found here, I combined two favorites to create a new favorite – rosemary infused olive oil. 

1467

1521

1541

1596

1126
Share
Tweet
Pin
Share
No comments
Older Posts

Follow Me

  • Instagram
  • Pinterest
  • Bloglovin

Popular Posts

  • Bundled Up
  • Pear, Parma Ham, and Ricotta Crostini
  • Spring in New York
  • Chocolate-Peanut Butter Whoopie Pies

Categories

  • Outfits
  • Recipes
  • DIY
  • Travel
  • Edit
  • Play

Blog Archive

  • ▼  2021 (20)
    • ▼  June (1)
      • Traveling to Greece During COVID-19 - Summer 2021
    • ►  May (2)
    • ►  April (1)
    • ►  March (3)
    • ►  February (6)
    • ►  January (7)
  • ►  2020 (59)
    • ►  December (5)
    • ►  November (5)
    • ►  October (8)
    • ►  September (12)
    • ►  August (9)
    • ►  July (11)
    • ►  June (9)
  • ►  2018 (1)
    • ►  January (1)
  • ►  2017 (21)
    • ►  September (3)
    • ►  August (1)
    • ►  July (1)
    • ►  June (2)
    • ►  May (2)
    • ►  April (2)
    • ►  March (5)
    • ►  February (2)
    • ►  January (3)
  • ►  2016 (55)
    • ►  December (6)
    • ►  November (3)
    • ►  October (6)
    • ►  September (4)
    • ►  August (4)
    • ►  July (3)
    • ►  June (7)
    • ►  May (4)
    • ►  April (4)
    • ►  March (6)
    • ►  February (6)
    • ►  January (2)
  • ►  2015 (81)
    • ►  December (4)
    • ►  November (3)
    • ►  October (4)
    • ►  September (4)
    • ►  August (6)
    • ►  July (7)
    • ►  June (7)
    • ►  May (8)
    • ►  April (9)
    • ►  March (10)
    • ►  February (9)
    • ►  January (10)
  • ►  2014 (126)
    • ►  December (9)
    • ►  November (8)
    • ►  October (9)
    • ►  September (3)
    • ►  August (6)
    • ►  July (3)
    • ►  June (1)
    • ►  May (8)
    • ►  April (18)
    • ►  March (20)
    • ►  February (19)
    • ►  January (22)
  • ►  2013 (151)
    • ►  December (19)
    • ►  November (20)
    • ►  October (23)
    • ►  September (20)
    • ►  August (22)
    • ►  July (22)
    • ►  June (20)
    • ►  May (5)
Instagram Pinterest Bloglovin
FOLLOW ME @EATPLAYDRESS